Candles are not only great for creating the coziest home, but they are also one of the best gift ideas to be filled with personal touch. Ever so often, a person might think about trying his hand at candle making, and that is why this beginner’s guide is for them: Learn how to make your own candles in this blog.
Essential Tools and Materials:
1.Praffin Wax: Waxis known for its ability to hold fragrance well and its affordability.
2.Wicks: Cotton or wooden wicks work well.
3.Beeswax:Beeswax is a natural one and has a sweet, honey-like fragrance to it. As such, it is the go-to for people who prefer organic.
4.Fragrance oils: Optional, but they’ll make your candles smell amazing.
5.Heatproof containers: Heatproof containers such as mason jars, tea cups, or candle molds.such as mason jars, tea cups,candle molds.
6.Double boiler:or a heatproof bowl and pot.
7.Thermometer: To check the wax temperature.
8.Dye: Dye for adding colors.
9.Heat Gun or Blow Dryer: A heat gun or blow dryer can be used to eliminate air bubbles that may form on the surface of the candle as it cools. This helps achieve a smooth and polished finish. 10:Labels and Packaging Materials:If you intend to give the candles as a gift or sell them, then investing in some labels and packaging material would help give your candles a professional look.
Before you get started, let’s take a quick look at the materials you’ll need to make candles at home:
Step 1:Prepare Your Work Area:
The first step in candle making is to get everything ready. Find a clean, flat surface to work on, and lay down some newspaper or paper towels to catch any drips. Make sure you have all your materials nearby, so you’re not scrambling later.
Step 2:Melt your wax:
Measure your soy wax flakes and add them to your double boiler. What’s the right amount of wax? Double the volume of your vessel is a good rule of thumb since the flakes will melt down. So simply use your vessel as your measuring cup and fill it twice. Place your candy thermometer in the wax and turn the heat to high. Once the temperature reaches 185 degrees Fahrenheit, it’s time to add your fragrance.
Step 3:Add Fragrance and Color:
Now, it’s the time of melting wax. If you use a double boiler, place water in the lower pot, pour your wax in the top, and bring that water over a medium fire while letting that wax melt gradually. Stir occasionally with your spoon so that this procedure goes better and faster. However, if you don’t have a double boiler, you can do that by putting your heat-resistant bowl over another boiling pot full of water.
Keep an eye on the temperature of the wax as it melts. You’ll want it to reach about 170°F (77°C) before moving on to the next step.
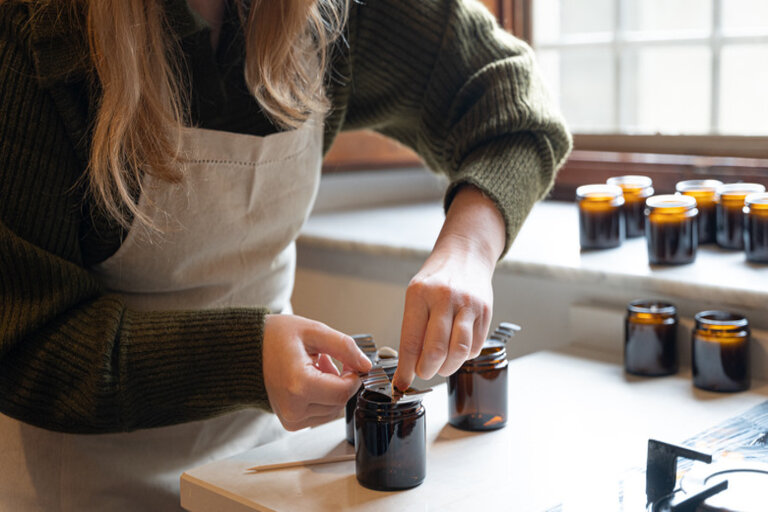
Step 4:Attach the Wick to the Container:
As your wax is cooling down a little bit to around 130° F or 54° C, it is time to prepare your container. Fix the wick at the bottom of the container using a small amount of melted wax or a wick sticker. Be sure that the wick centers the bottom; this will help your candle burn evenly later.
Step 5:Pour the wax:
Carefully pour the wax into your container after it has reached the proper temperature. As you pour, keep the candle firmly in position to prevent excessive movement. Give the container’s top a gap of roughly 0.5 inches. To prevent air bubbles, pour steadily and slowly.
Step 6:Let the Candle Cool:
Pour the wax over this, and allow the candle to cool thoroughly. This can take anywhere from a few hours to overnight. As the wax hardens, you may find a very small dip where the wick came through. Simply reheat some wax and fill in the little gap to create a smooth finish.
Step 7:Trim the Wick:
Once the candle is completely cooled and set, trim the wick to about 1/4 inch above the surface of the candle. This will ensure a clean burn when you light it.
Step 8:Enjoy Your Candle!:
Congratulations! You have created your very own candle. Now, you can enjoy the warm and beautiful glow, or give it to someone as a thoughtful handmade gift. You may also try new colors, scents, and shapes as you gain confidence in the craft.
Tips for Perfect Candles:
1.Use the right wax: Soy wax is great for beginners because it’s easy to work with, burns cleanly, and holds fragrance well.
2.Don’t overheat the wax:You can make use of any materials like glass jars, teacups, or old candle tins. Make sure, however that it is not affected by heat.
3.Get creative: To create genuinely one-of-a-kind candles, feel free to experiment with various hues, fragrances, and forms as you practice.
Candle making is a fun hobby, requiring creativity and rewarding anyone who wants to learn it. One can begin making beautiful candles at home with a minimal few basic supplies and some patience. They can then be made either for personal use or as gifts. There’s nothing better than the art of candle making to relax and express your creativity.For more Guideline like this, visit our website.https://trendythreads.net/ & Share your experiences in the comments below!


