Calligraphy is an old art form that enables you to express your creativity through elegant strokes and careful design and it is more than just lovely writing Learning calligraphy may be a fulfilling experience regardless of your goals creating sophisticated wedding invites creating original greeting cards or just wanting to indulge in a soothing artistic pastime Everything you need to get started will be covered in this comprehensive beginner’s guide from comprehending fundamental tools and strokes to developing your skills via daily practice Patience consistency, and a love of slow, deliberate craft are what make calligraphy so beautiful. Even though it might appear difficult at first, anyone can learn calligraphy with the correct instruction and regular practice.
What is Calligraphy?
Calligraphy comes from the Greek words kallos which means beautiful and graphein which means to write Calligraphy is simply the art of creating beautiful letters by hand. Calligraphy differs from regular handwriting in that it is intentional artistic and structured It places emphasis on space strokes rhythm and letter structure. Learning calligraphy has several advantages such as improving focus fostering creativity and even reducing stress. Writing lovely letters is just one of them For a lot of people calligraphy is a soothing hobby that lets them put down their devices and rediscover their creative side in a therapeutic and meaningful way.
Different Types Of Calligraphy Styles:
When you pick up a pen, it’s important to understand that calligraphy is more than just one writing style. There are many different types of calligraphy, each with its own tools and techniques. As a beginner, you should try a variety of styles before choosing your favorite.
The main types of calligraphy include:
- The most well-liked beginner-friendly calligraphy style is modern calligraphy, which is elegant, flexible, and features funny strokes.
- Using brush pens, brush calligraphy emphasizes pressure-based thick and thin strokes.
- A refined and formal pen with a pointed nib, copperplate calligraphy is utilized for formal invitations and weddings.
- The Gothic/Blackletter calligraphy style is characterized by its dramatic, bold, and archaic use of broad-edge pens.
- Arabic calligraphy is an artistic script created using reed pens or bamboo qalam that is utilized in Islamic art.
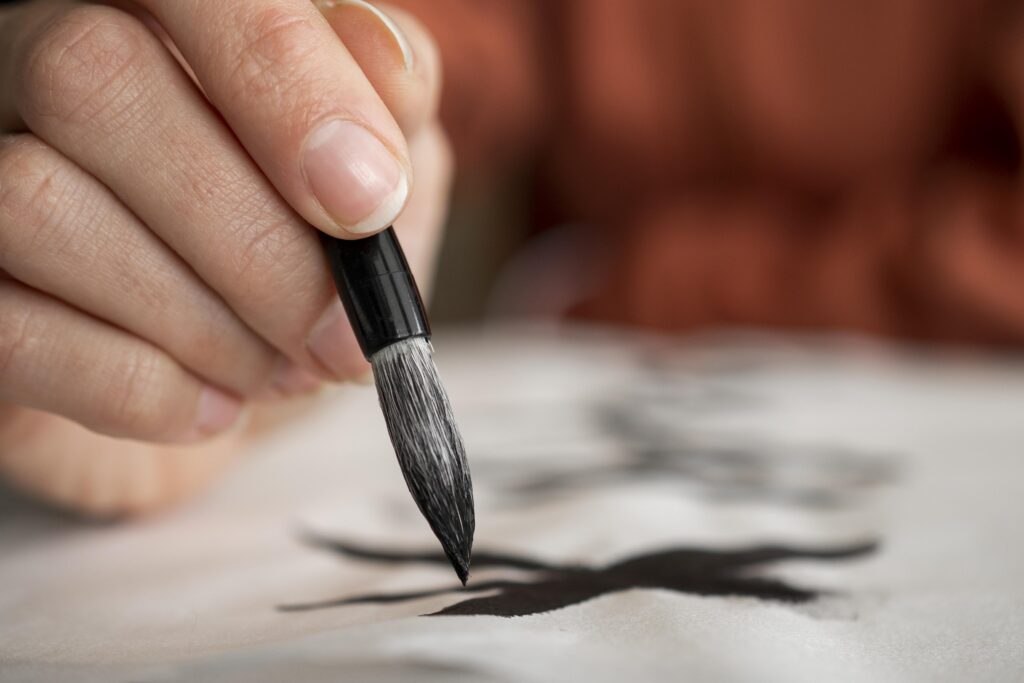
- In China and Japan, calligraphy is an ancient art form that is written using brushes and ink.

Tips for Beginners:
- Be patient with yourself: Calligraphy is an art that requires precision and time. Don’t get discouraged if your letters don’t look perfect right away.
- Invest in quality tools: While you can start with basic supplies, upgrading to higher-quality pens and paper as you progress can make a noticeable difference in your work.
- Start small: Focus on mastering individual letters before moving on to words and sentences.
- Enjoy the process: Calligraphy can be a relaxing and meditative activity, so take time to enjoy the creative process rather than rushing to the finish.
How to Practice Calligraphy Effectively:
Calligraphy is about control and flow, not speed. Trying to finish a page is not as good as practicing deliberately and slowly. To maintain letter height and spacing, always use lined paper. Prior to composing a letter, always practice using simple writing techniques. Similar to stretching before working out, it’s crucial for control and flexibility. Keep a weekly progress log and contrast your writing before and after. Seeing your progress will give you encouragement. Give your hand a brief rest if it starts to feel fatigued. Smoother strokes are achieved by relaxation.
Learning Basic Calligraphy Strokes:
Basic strokes are the starting point for calligraphy, as is the case with all forms of art. Every letter is composed of basic strokes, despite their seemingly complicated design. Writing beautifully requires consistency and muscle memory, both of which are enhanced by mastering these strokes.
Controlling pressure is key to calligraphy; for long lines, press firmly; for thin strokes, lift slightly. The most basic strokes for beginners are as follows:
- Upstroke: A thin line produced by lightly pressing the pen upward.
- Downstroke: A thick line produced by applying more pressure downward.
- Overturn Stroke: A hill-shaped action that goes up and down.
- Underturn Stroke: A valley-shaped movement that goes down and then up.
- Letters like a, o, and d are the foundation of the oval stroke.
- When joining letters, the compound curve is utilized.
- In letters like h, l, and b, the ascending loop is utilized.
- Letters like “g,” “y,” and “j” use the descending loop.
Before trying entire letters, practice these strokes for a few days. This strengthens your hand and teaches your fingers how to properly follow pressure patterns.
Essential Tools to Start Calligraphy:
Essential Tools to Start Calligraphy:One common error novices make is buying expensive or unnecessary instruments. The truth is, you can start calligraphy with simple and economical resources. Let’s break down what you absolutely need:
- Brush Pen or Calligraphy Pen
- Smooth Paper or Practice Pad
- Guideline Sheets
- Pencil and Eraser
- Ruler for Practice Lines
How to Hold a Calligraphy Pen Correctly:
Calligraphy necessitates a somewhat different grip and posture than standard writing. Just as important as your tool is your writing angle.
- Use these pointers to write comfortably:
- Keep your wrists loose rather than rigid.
- For right-hand writers, tilt your page slightly to the left.
- Aim for a 45° angle with your pen.
- Don’t simply use your fingers to move; use your arm and shoulder as well.
- To prevent wrist discomfort, sit with a straight posture.
Many novices write with their fingers only or hold too hard. This breaks the flow of the strokes and produces unsteady lines. For smoother strokes, softly move your entire arm instead.
Step-by-Step Beginner Calligraphy Guide:
Following an organized and straightforward procedure makes learning calligraphy simple and pleasurable. Start with a strong base before diving right into ornate lettering. Even if you’ve never touched a calligraphy pen before, this step-by-step tutorial will help you confidently and progressively improve your skills.
Summary:
Begin learning calligraphy by choosing a simple style, practicing pen pressure, and mastering basic strokes before writing letters. Start with lowercase letters, then move to connections, uppercase letters, and full words. Use simple tools, practice daily, and focus on slow, steady improvement. Consistency and patience are the keys to success.
FAQs:
Can anyone learn calligraphy or do I need good handwriting?
Anyone can learn calligraphy, no matter what. Because calligraphy is centered on strokes and structure rather than handwriting style, your typical handwriting is irrelevant. Anyone can write brilliantly if they practice.
What is the easiest calligraphy style for beginners?
The simplest and most effective calligraphy techniques for novices are brush calligraphy and modern calligraphy. They don’t adhere to rigid old guidelines and are adaptable and inventive.
How long does it take to learn calligraphy?
Within two to four weeks, you can notice an improvement if you practice for 15 to 20 minutes every day. While mastery takes time, consistent, steady improvement happens fast.
Do I need to take a calligraphy class to learn?
No, you can study calligraphy at home with ease by using online resources, YouTube videos, or practice sheets. Although they can be beneficial, classes are not required for novices.
Read More Related Articles https://trendythreads.net/why-earthy-colors-are-trending-around-the-world/